|
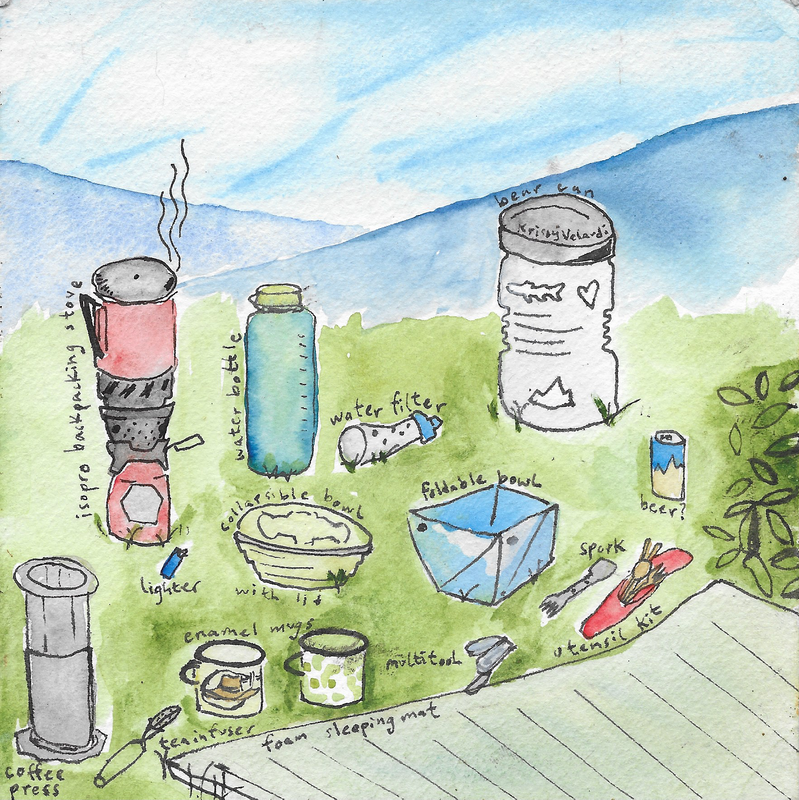
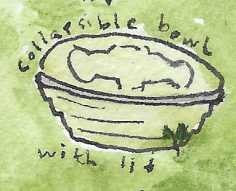
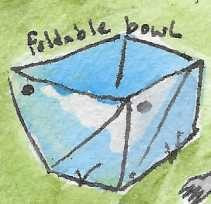
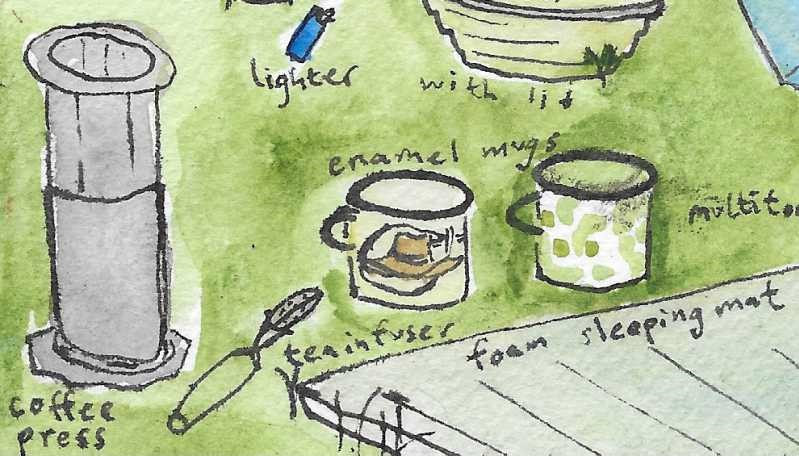
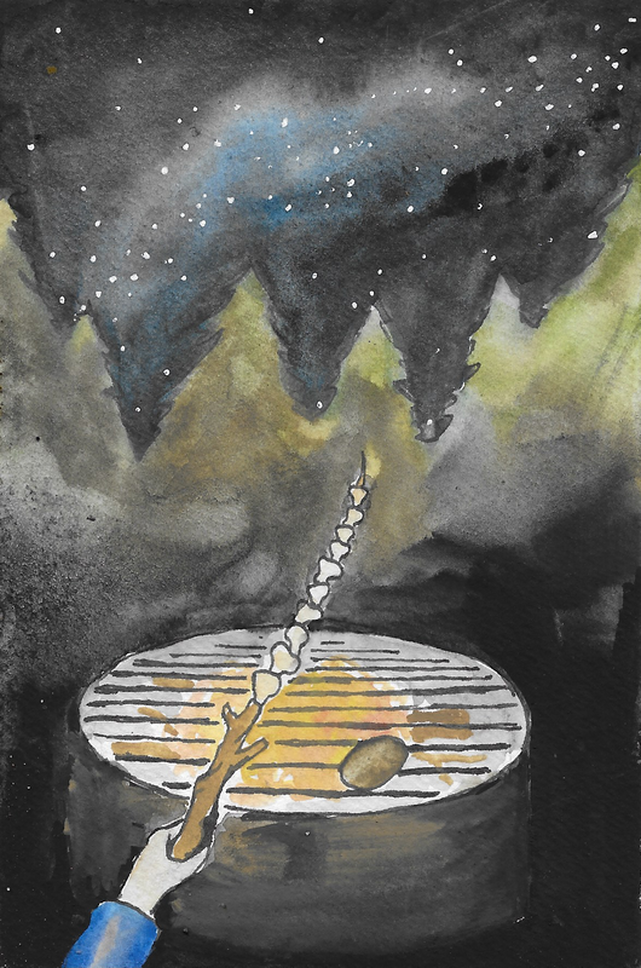
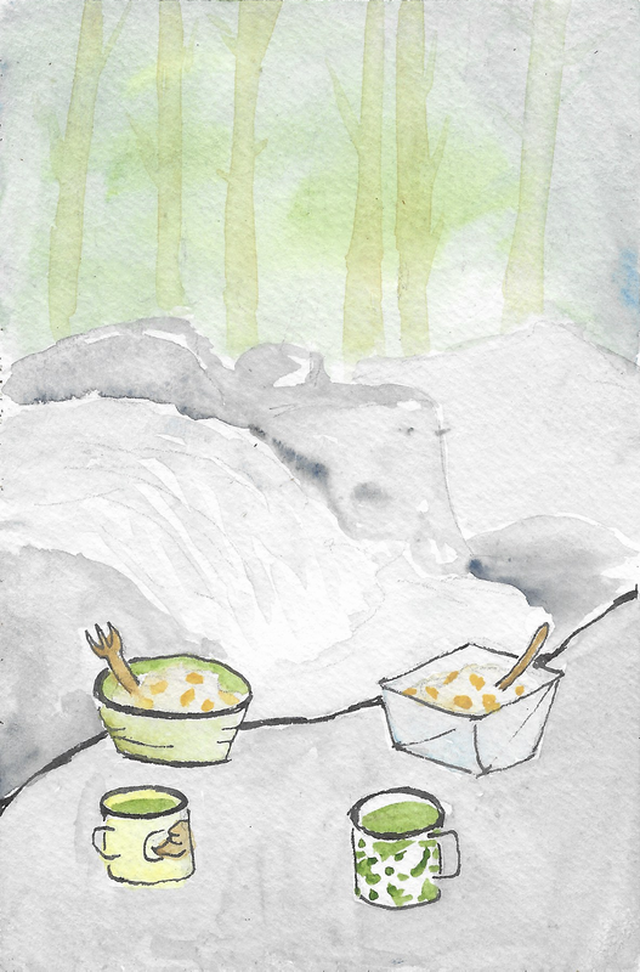
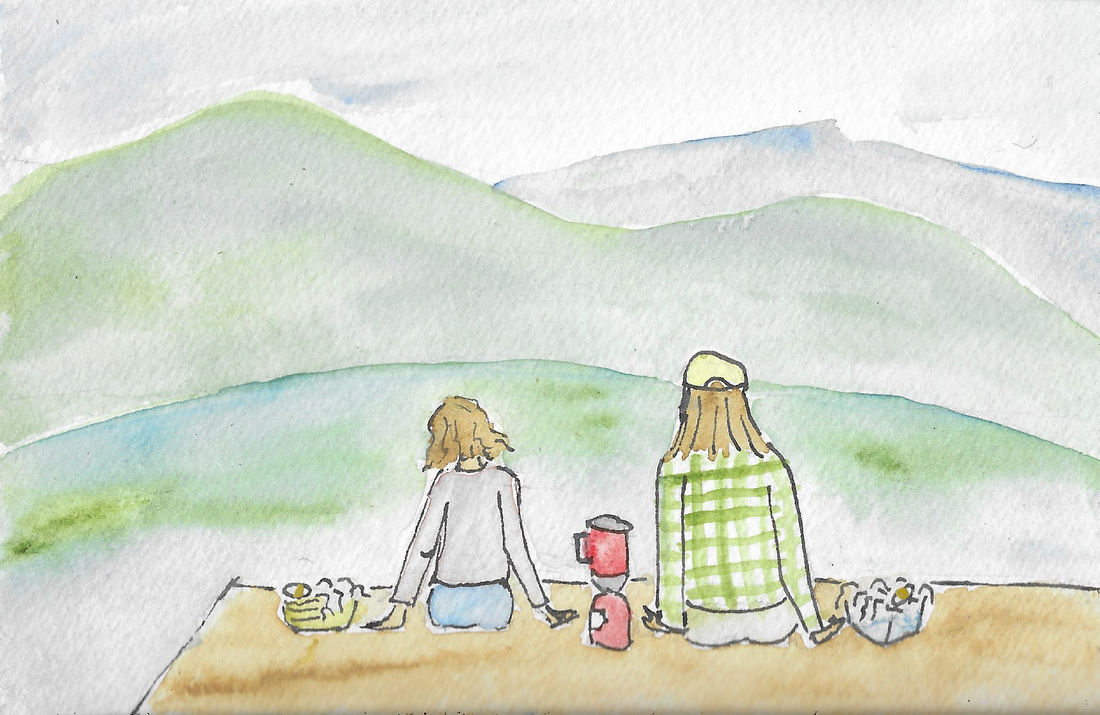
Story and illustrations by Krissy Velardi Note: The writing and illustrations in this article are all done by myself, but it would be wrong not to credit the ideas equally to Zenith and Clay—two of the best friends anyone could ask for on and off the trail. - Krissy On a crystal-clear early autumn day this year, Clay and I ventured over Trail Ridge Road to the Grand Lake area to hike the North Inlet/Tonahutu loop over 3 days and two nights. As with any proper adventure, I could write endlessly about the magic of our journey. But here, I am just going to dive into how we fueled our bodies for nearly 30 miles in the backcountry. A lot of people opt for the pre-packaged just-add- boiling-water backpacking meals because the concept of cooking without a full kitchen can be intimidating. But to us, it is always worth a little extra love and effort to eat beautiful, nutritious home-cooked meals on the trail (plus it saves quite a bit of money!). Of course, we have had our share of flops, but the recipes here have been refined over many backcountry excursions. That being said, you don't need to hike 30 miles to try these recipes out for yourself. They're great for bringing on day hikes or even just making something quick at home whilst dreaming of the mountains. Kitchen setup 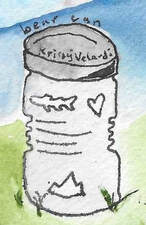 Bear can: In many mountainous areas, including Rocky Mountain National Park and the Indian Peaks, a bear canister is required for food storage. It is basically a giant plastic tub that requires opposable thumbs to open, designed to keep human food inaccessible to bears. It is an important factor in deciding what foods to bring because you need to be able to fit all of your food and other “smellables” (deodorant, toothpaste, etc.) inside of it. For that reason, a lot of our selections are purposefully compact which also serves the dual purpose of being lightweight. 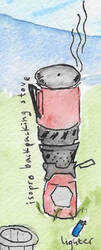 Isopro backpacking stove: Of all the camp stove styles I've tried over the years, my favorite for backpacking uses isobutane/propane blended fuel and has an integrated pot. These stoves are optimized simply for boiling water but you'd be surprised how much you can cook this way! They are also permitted in areas with fire bans because the flame is elevated from the ground. My stove is a fancy expensive windproof version, but you can find a basic isopro-fueled stove for under $20 and use any small, thin, metal pot with it. Some models have a built-in igniter, but I always pack an extra lighter since they can be finicky. Better safe than hungry!  Water filter: Countless styles have been invented over the years, but I find the most compact and easiest to use to be a soft-flask style that you fill directly with water and squeeze through a filter threaded onto the opening. I bring this on any day hike with a water source, and sometimes even around town so I can fill my water bottle from the river. Remember to always filter water before you drink or cook with it, even if you're going to be boiling it.  Water bottle: I prefer to hike with a hydration bladder, but a water bottle is good to have around for the kitchen since it's much easier to pour water out of for cooking. 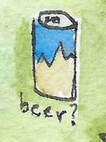 Beer?: Good for sunsets, summits, cooking, and campfires. Carefully place some rocks to hold your can at the edge of the river and leave it there for a few minutes to chill. If the refreshment of cracking open a cold one is worth the weight of carrying a can or two, then don't be afraid to indulge. Getting out there is all about enjoying yourself responsibly. Bowl: Especially if you're cooking for one, you can opt to skip this and eat out of your pot. These days I like to bring a collapsible bowl with a threaded lid and Clay uses a bowl that unfolds out into a plate for easy cleaning and packing. But in the past I used to simply bring tupperware. Just make sure whatever you choose is fairly light and sturdy. 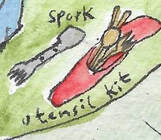 Utensils: A titanium spork is lightweight, heat resistant, and durable. This is my utensil of choice… but on this particular trip I forgot any utensil and whittled a new spork from a stick. Clay generally brings bamboo utensils in a convenient little canvas pouch to keep them all together in his pack. And of course, your household utensils work just as well outdoors too. 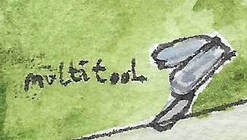 Multitool: Mostly I just cut fairly soft vegetables, but it's nice to have the option of a few blades as well as scissors for opening packages. This is what I used to whittle my utensil too. Coffee press/tea infuser: These are the best ways we've found for making hot beverages on trail while also avoiding single-use products. We measure out coffee grounds/ tea leaves beforehand and pack them in a small container. Alternately, I sometimes just bring matcha since it dissolves and therefore does not require an infuser. And if I'm feeling fancy, I'll add some powdered coconut milk to it for a backcountry matcha latte. Enamel mugs: For coffee, for tea, for sharing a beer, for side dishes, for hitting with a stick at impromptu jam sessions. Foam sleeping mat: In colder weather, I prefer an inflatable mat. But the foam ones are great for a comfy place to sit wherever you decide to make a meal. Snacks I always carry one or two granola bars per person per day in addition to a sweet snack (banana chips on this trip) and a salty one or two (pistachios and a spicy snack mix). Some ingredients, such as granola, can double as a snack if you bring extra. Plus we packed a dark chocolate bar that we shared for dessert over the two nights. The salty snacks are good for electrolytes but snacking in general is extra important because your body is going to want a lot more calories when you're working it like this. It's really important for a fun backpacking experience to find calorically-dense foods that you truly enjoy! Day 1 Breakfast: Trailhead breakfast burritos (propane stove) As we prepared the rest of the food and finished up packing for our trip, we used a cast iron skillet on a two- burner propane stove to make breakfast burritos at Grand Lake. To power the first bit of our journey, we cooked up some sweet potatoes, red onions, black beans, and eggs,wrapped it all up in tortillas, and put them back on the skillet to toast the outside. It was simple but packed full of nutrition to get us ready for a big adventure! Lunch: Peanut sauce veggie wraps (no stove) Prepare at home: To a half-full jar of nut butter, add a pinch of black pepper, a hearty shake of garlic powder, a squirt of hot sauce (to taste), and a splash of something acidic (lemon/lime juice or apple cider vinegar). Top it off with soy sauce or hoisin sauce, being careful not to make it too thin, especially if you choose soy sauce, since you want to maintain a spreadable consistency. Give a good stir, then close the jar, shake it all up, and toss it in your bear can. A standard size jar makes about 4–6 servings if you really like to heap it on. On the trail: Take out a tortilla and spread a saucy stripe down the middle. Cut/rip up a liberal amount of crunchy veggies (we used bell pepper and carrot) and pile them on. Roll it up, using a bit more of the peanut sauce as glue to hold the wrap together. I've tried pre- making these wraps, but they get a little soggy so it's best to just assemble them on trail. Dinner: Wild mushroom rice bowls (isopro stove + campfire [optional]) At home: Fill a bag with dehydrated mushrooms (I love the exotic blend we would buy at the farmers market in the summertime, but be sure not to include any that are too large as they take much longer to rehydrate), sesame seeds, dried seaweed (we typically use wakame), salt, pepper, and umami seasoning. Pack another bag or jar with some instant white rice. Although I prefer brown rice, the instant white rice seems to cook much better with just boiling water poured over it. In another small jar, add some miso paste. On trail: Well, we packed the dehydrated mushrooms but ended up finding such an abundance of wild mushrooms (see note) while still on Forest Service land before we entered Rocky. We picked a few of those to use instead! Our first campsite had a fire ring and small wood fires were permitted, so we made a fire and skewered our mushrooms to roast while we prepared the rest of the recipe In the pot of your isopro stove, boil water (1:1 ratio with the total amount of rice you'll prepare) and the contents of your mushroom-seaweed-spice blend as well as a heaping spoonful or two of miso paste. Pour a serving of instant white rice into each bowl. Once the contents of the stove have come to a boil, turn the heat down and give it just a minute or two more (making sure the mushrooms have time to rehydrate) and then pour them all together into the bowls of rice. Stir everything up and let it sit for a few minutes. Chop up a bit of zucchini into small pieces to add some crunch then toss it on top once the rice has absorbed all of the water. Note: Do not ever consume wild foods you have not identified with 100% confidence. If you have any doubt whatsoever, leave it. If you are intending to forage, carry a field guide and collect responsibly. Don't gather a significant por'tion of what you see or more than you'll eat. And, always pack a backup rather than relying on being able to forage. Day 2 Breakfast: Mango cobbler oatmeal (isopro stove) At home: Mix quick-cooking oatmeal with cinnamon, coconut milk powder, and brown sugar, being sure to leave some nuggets of brown sugar. Put the mango (or your fruit of choice) in a bowl or mug to keep it from getting bruised in your pack. On trail: This was a big day of hiking, so in order to get going early we ate some granola bars while packing up the tent then hiked a few miles before stopping to cook breakfast by a cascade. Pour a serving of oatmeal into each bowl and cut up the mango while bringing a full pot of water to a boil. Add some of the boiling water to the oats and let sit while you use the remainder to make a pot of tea/coffee. Once the oats have absorbed the water to your desired consistency, sprinkle the top with some granola and uncooked oats. Lunch: Peanut sauce veggie wraps 2.0 (no stove) It is really nice to have a go-to lunch that doesn't require a stove in case you want to keep it speedy but also because that mountain sun can be hot midday! Additionally, it can be extra windy above the treeline which makes it difficult to use most stoves. We brought enough peanut sauce for two rounds and then used bell pepper again but swapped in zucchini in place of carrot to mix things up a bit. Other veggies that work well are cucumber, red cabbage (cut into large pieces at home), leeks, and bean sprouts. Dinner: Mushroom mash (isopro stove) This wasn't what we had intended but after hiking 12 miles all above 10,000' with the weight of our packs, we simply wanted to go to sleep. So this is what happened: I'm the type to get a little upset when hungry so I always bring some instant mashed potatoes (dubbed “hanger tates”) as a preventative measure. They get used on every trip, and it keeps me pleasant enough that my friends continue to want to go backpacking with me. At home: Fill a bag or jar with instant mashed potato flakes, salt, pepper, and garlic powder. On trail: Bring water and dehydrated mushrooms to a boil over an isopro stove. Add some potatoes to each bowl. Once mushrooms are properly hydrated, distribute the contents of the pot amongst the bowls and feast. Day 3 Breakfast: Cobbler oats 2.0 (isopro stove) We didn't bring a second fresh fruit, so on the morning of day 3, we added some banana chips and extra granola to the top of our cobbler oats and they were delicious this way as well. Another pot of tea helped to wake us up. Lunch: Miso mushroom ramen (isopro stove) We planned to have this for lunch on trail and carried the ingredients in our bear can, but it was scorching hot as we hiked through a burn scar in the midday sun. So we sat with our toes in the river, sharing a cool beer and snacking on some granola bars, and decided to wait until we got off trail so we could add a soft-boiled egg and cook on the beach of the lake. However, we have previously brought eggs on trail, wrapped in a clean sock or bandana then packed firmly in a tupperware. At home: We used the same mushroom/ seaweed/ spice mix and miso as we did for the rice bowls we had for dinner on Day 1. On trail: Fill pot just over halfway with water then add flavorings and bring to a boil. Once boiling, add an egg for each person and slightly lower heat. Let the rolling boil continue for about five minutes. Carefully remove the eggs from the hot broth and place them in a mug of cool water to chill for a few minutes. Add 1 or 1.5 packets of instant ramen noodles (we forgo the flavor pouches that come with them in lieu of our homemade mix) to each bowl and pour the hot broth over them. Let sit a few minutes, periodically separating the noodle “nests” as they soften. Chop up some fresh crunchy zucchini as a topping. Peel the eggs, add them to the bowls, and enjoy with a view! 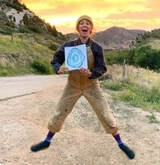 Krissy Velardi is a nature-loving nomad who was carried to Colorado on the wind. When she is not dancing through the mountains, she is daydreaming about them and often laying those whimsical visions down on paper. To see artistic interpretations of her other wanderings, go to krissyvelardi.com or @acorngirldesign on instagram The publication of this piece of independent and local journalism was made possible by Snowy Peaks Winery and Kirk's Mountain Adventures, both of Estes Park.
1 Comment
12/4/2024 08:56:08 pm
Why does the speaker emphasize the importance of eating nutritious, home-cooked meals while backpacking, and how does it contribute to the overall experience? Greeting : <a href="https://mm.telkomuniversity.ac.id">Magister Manajemen</a>
Reply
Leave a Reply. |
Categories
All
|
© Copyright 2025 Barefoot Publications, All Rights Reserved

