|
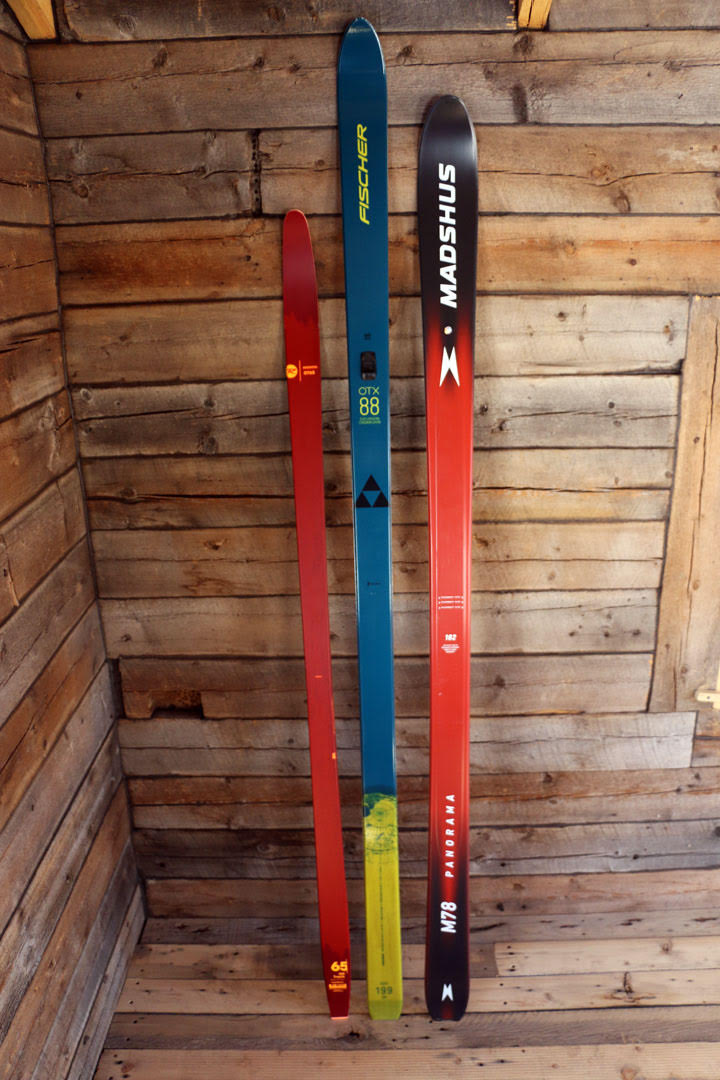
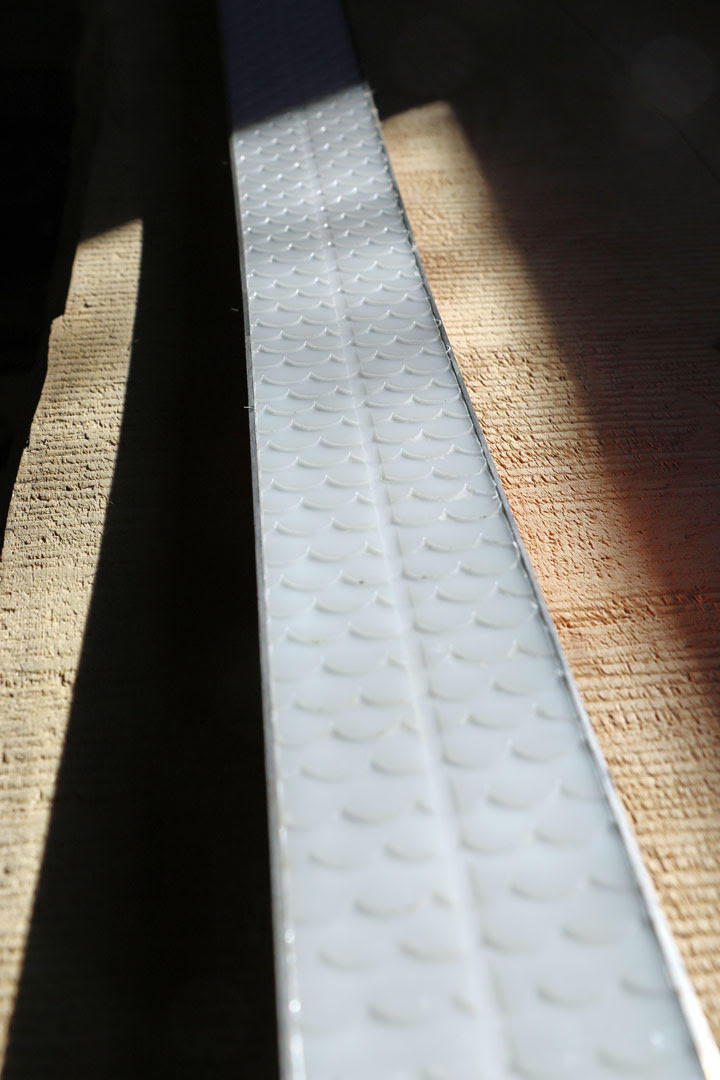
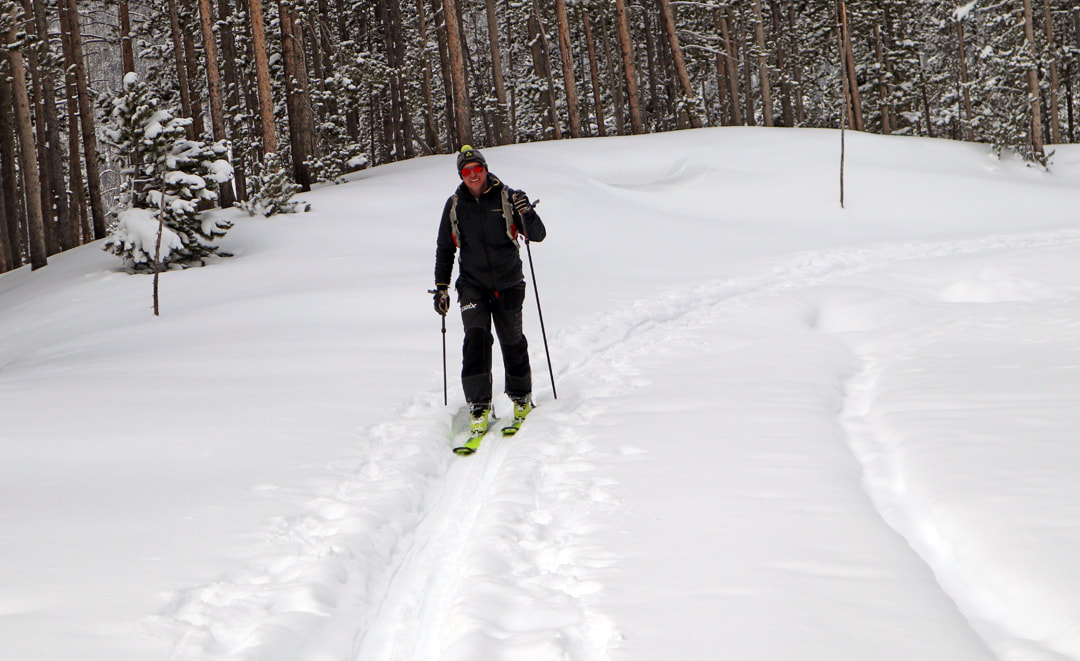
editor's note: this story is pulled out in its entirety from the February/March edition of HIKE ROCKY digital magazine. For more information about the magazine visit this page story, photos, and video by Murray Selleck, HIKE ROCKY’S equipment specialist It may be the cadence of cross country skiing that I love so much. The rhythmic kick and glide of cross country skiing is addicting, whether gliding through an open meadow or working hard breaking a deep, snowy trail up a mountainside. Perhaps it is the ability to explore the winter backcountry under my own power on skis that makes each time I go feel like a new adventure. It makes no difference whether it's a bluebird day with sunshine creating shimmering rainbows off the snowpack or I’m under heavy snow-laden clouds, smothering the mountaintops with temperature-dropping winds whipping through the trees... being out on a winter day on cross country skis is always exhilarating and wonderful. Wonderful that is, if the skis you have chosen match up to your expectations. There are a few basic concepts while choosing a cross country (xc) ski for yourself that you should be aware of; these will make your xc ski decision easier. With the right ski you will want to go time and time again. If your ski isn't at its optimum, your ski day may be challenging and reduce your enjoyment. Here's what to think about to make each xc ski day wonderful! How to choose ski length The length of your cross country ski is primarily based on your weight. XC skis have no clue how tall we are but they sure do know how much we weigh. The ski needs to be soft enough for you to effectively set the “fish scale” pattern into the snow to stabilize your kick. And the ski also has to be stout enough to carry your body weight for glide. Too much one way or the other and you're either slipping because the ski is too stiff or you're not gliding at all because it is too soft. Every cross country ski manufacturer will publish a weight range for each model and length of ski they produce. These weight ranges are excellent suggestions, but not rules written in stone. Many times, a person will find themselves in the middle of two weight ranges with the option of a shorter or longer ski length. Choosing one ski length over the other depends on your history as a cross country skier, your athleticism, and your enthusiasm for xc skiing. The shorter ski will allow you to set your kick easier and the ski will be easier to maneuver, especially skiing downhill. The one drawback is that a shorter ski may not glide as far with each kick that you set. The longer ski will definitely have more glide but you will have to be more proficient with your xc skills. If you don't transfer your body weight 100% from one ski to the other to set your kick you'll slip. The skis will immediately remind you to pay attention to your technique! Another consideration with a longer ski length is the maneuverability. It may require a bit more energy to bring the skis around in a turn... or not, depending on your skiing ability. Cross country skiers who have been at this for quite some time generally prefer a longer ski. Beginners or folks who are a bit timid on their skis likely will choose the shorter ski length. This last comment is a pretty broad generalization but it does hold some historical consistency. Ski width considerations When you start shopping for a backcountry/cross country ski you will notice a big range of ski widths and profiles. From very skinny skis measuring about 44mm in width underfoot, meant for a groomed track at a touring center, to very wide alpine-looking backcountry skis coming in at over 112mm at the tip there are lots and lots of choices. When considering backcountry xc skis with metal edges, the narrower the ski the more mileage and touring oriented it is. That is to say a backcountry skier with a narrower BC ski will tend to favor milder terrain and coming to a hill they might prefer to ski around it rather than up and down it. As the skis gain width they also gain sidecut, giving the skis more downhill control and turnability. Skiers choosing the widest profile skis probably have a slope in mind to make some turns along their way. Making some turns is a high priority. Of course, there is always a middle ground: skis that are not too narrow and not too wide. The middle width profile of ski adds stability with its width and offers a modicum of downhill control and turnability. This skier is happy to go for a long tour and if they make some long wide sweeping GS turns or two along the way, fine, and if they don't, that's fine too. The trick in choosing a width ski for yourself is imagining yourself on skis in the backcountry. Will you be touring through meadows? Exploring new terrain? Making turns in deep powder? A little bit of all of it? Let those thoughts of you skiing be your guide. Ski width and boot power When considering xc boots to go with your skis, you want to match ski width with boot power. More than likely, a narrower ski will be matched with a “light touring boot.” You won’t be asking as much from the ski while you're on your tour. Kicking and gliding may be the extent of your day. As skis get wider you'll need a ski boot that has increased power to control and direct the ski in more adventurous terrain. These boots often have an external ankle support combined with a stiffer flexing sole. The combination is a go-anywhere-do- anything package. Be aware that there are two NNN boot binding systems. One is a “light touring” NNN system and the other is NNN BC (backcountry). The two systems are not compatible with each other despite having the common NNN reference. A light touring NNN system has a narrower and thinner toe bar that slots into the binding while the NNN BC bar is longer in width and beefier in thickness. “Old school” three pin boots and bindings are still an excellent choice for your backcountry set up especially when you are looking to increase your downhill turning capability. Scale patterns for kick One of your last considerations in choosing a ski is the kick pattern or “no wax” pattern on the base of the ski. Fischer Nordic names their pattern “Offtrack Crown.” Rossignol offers “Positrack” and Madshus gives us “Omnitrack.” Other manufacturers offer their versions of a traditional fish scale pattern. While they all work as advertised and offer similar features (a deeper and tighter pattern under foot and the pattern lengthens and becomes more shallow towards the tip and tail), they can ski a little differently from one another. The easiest way to judge what the pattern will do for you is to feel the pattern. Brush your fingertips against the grain of the scaled pattern, especially through the middle of the pattern where your boot will be centered on top of the ski. You can feel the depth of the pattern and each one is cut either a bit deeper or shallower from one another. A deeper pattern under foot will offer a very positive kick whether or not you properly transfer your body weight. You can be distracted by the clouds or bird song and still ski along, setting your kick pretty reliably. The drawback with a deeper cut pattern is it does increase the inherent drag on glide all no wax patterns create. The ski will not glide as far with the effort of your kick. A ski with a shallower no wax pattern under foot will reliably kick with proper weight transfer and the pattern does enhance the glide effect by reducing drag. Choose the pattern that best fits your current skill level or think ahead to the skier you want to become. By the way, “no wax” patterns on your skis do require wax! At a minimum use a liquid surface wax; this is easily applied over the length of your ski right through the pattern. This will help your ski glide and prevent any icing that can occur on the scales in certain snow conditions. The joys of XC skiing The subtle sound of your skis swish-swishing over snow as you tour. Gliding forward, effortlessly. Exploring a silent winter day. Covering considerable distance under your own power. Laughter with friends. These are the joys of cross country skiing. Skiing on a brisk winter day and enjoying the wonderful scenery and mountainous terrain of RMNP should never be taken for granted and experienced as often as possible. Grab your cross country skis, plan to meet some friends, and get out and ski ... often! 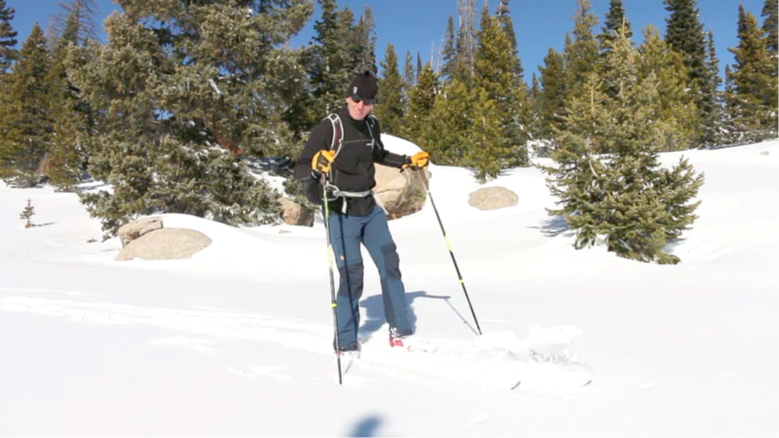 Murray Selleck moved to Colorado in 1978. In the early 80’s he split his time working winters in a ski shop in Steamboat Springs and his summers guiding on the Arkansas River. His career in the specialty outdoor industry has continued for over 30 years. Needless to say, he has witnessed decades of change in outdoor equipment and clothing. Steamboat Springs continues to be home
0 Comments
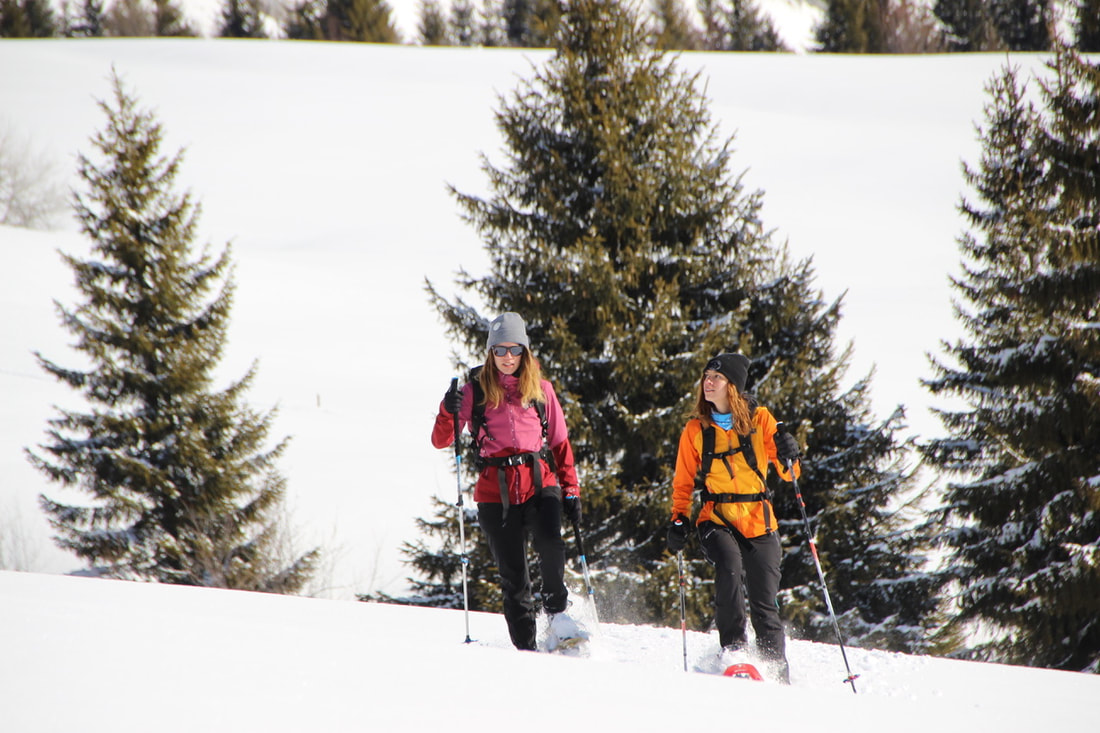
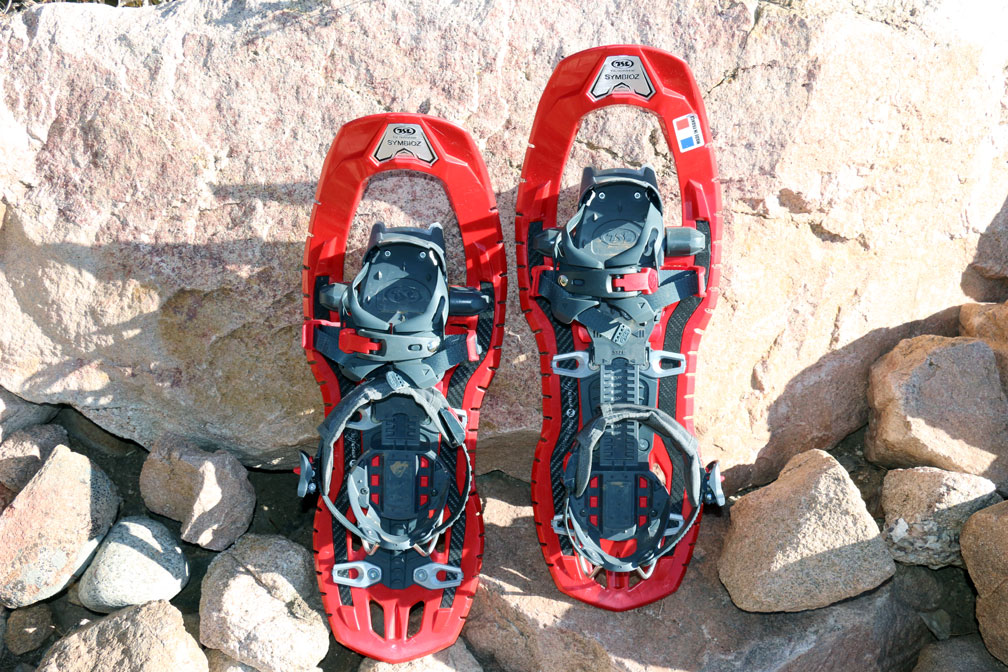
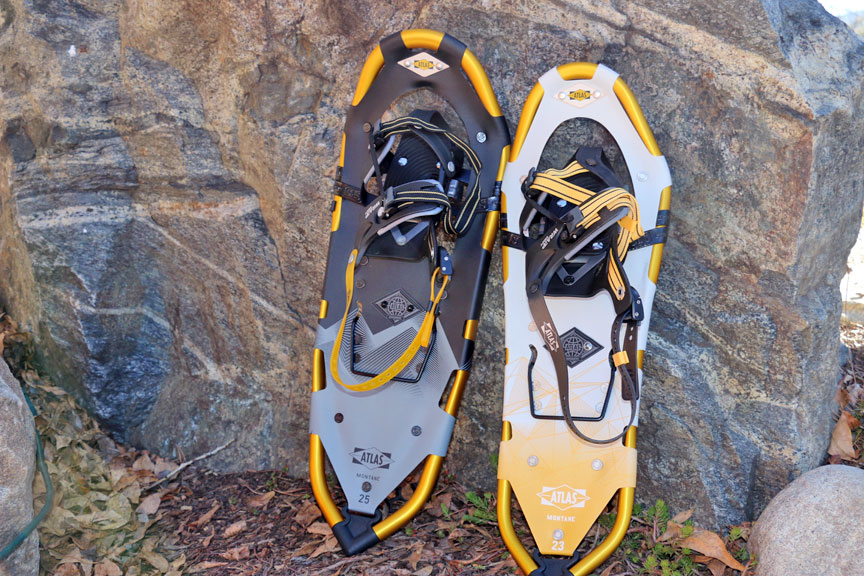
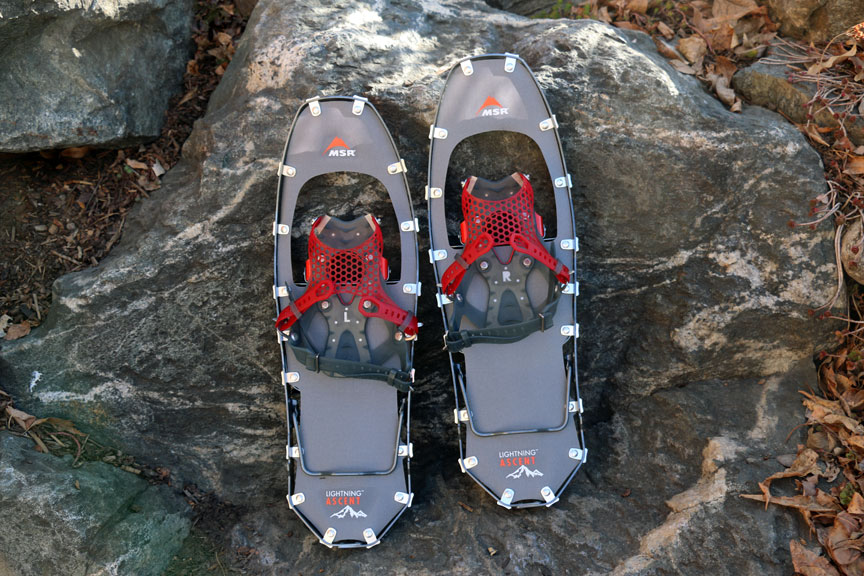
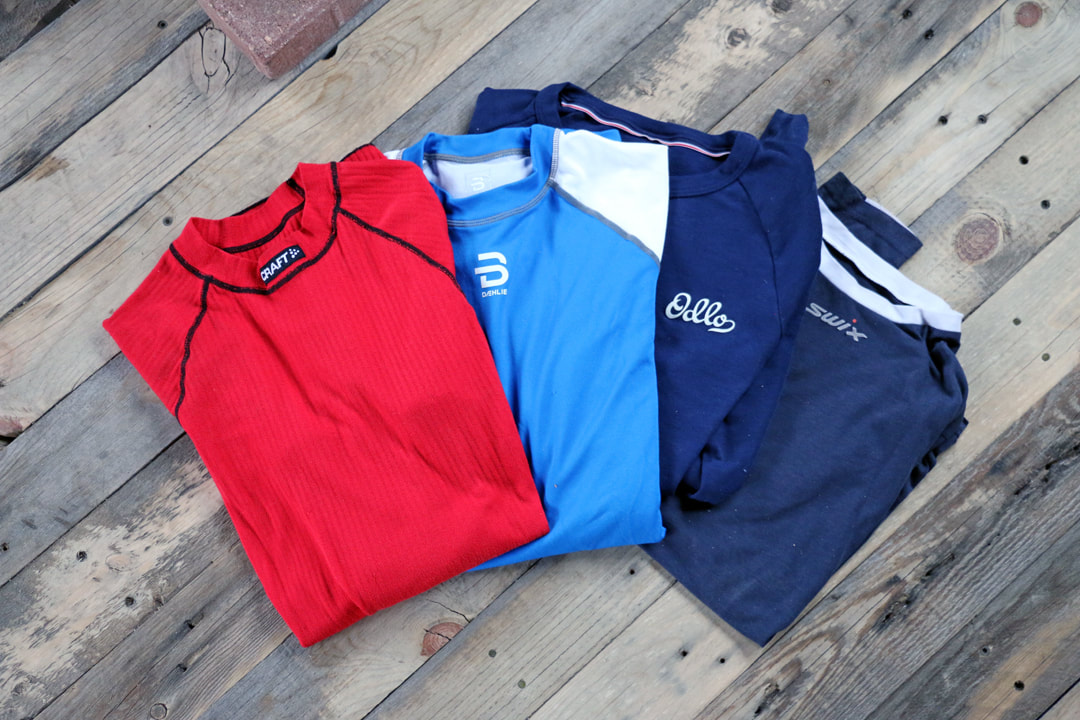
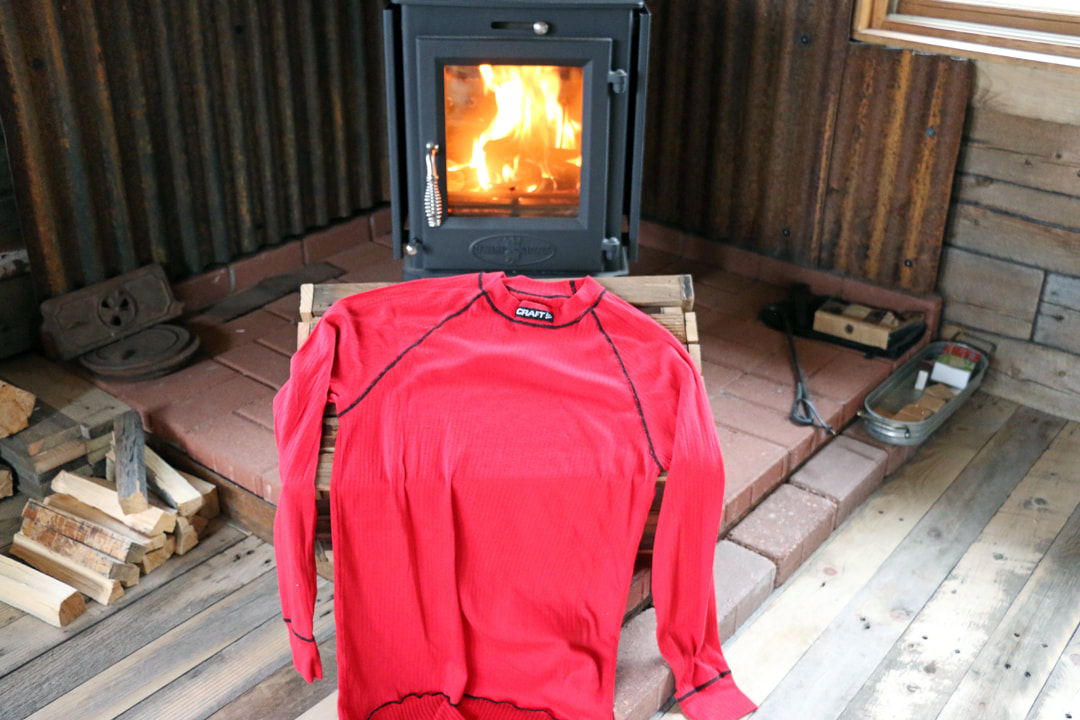
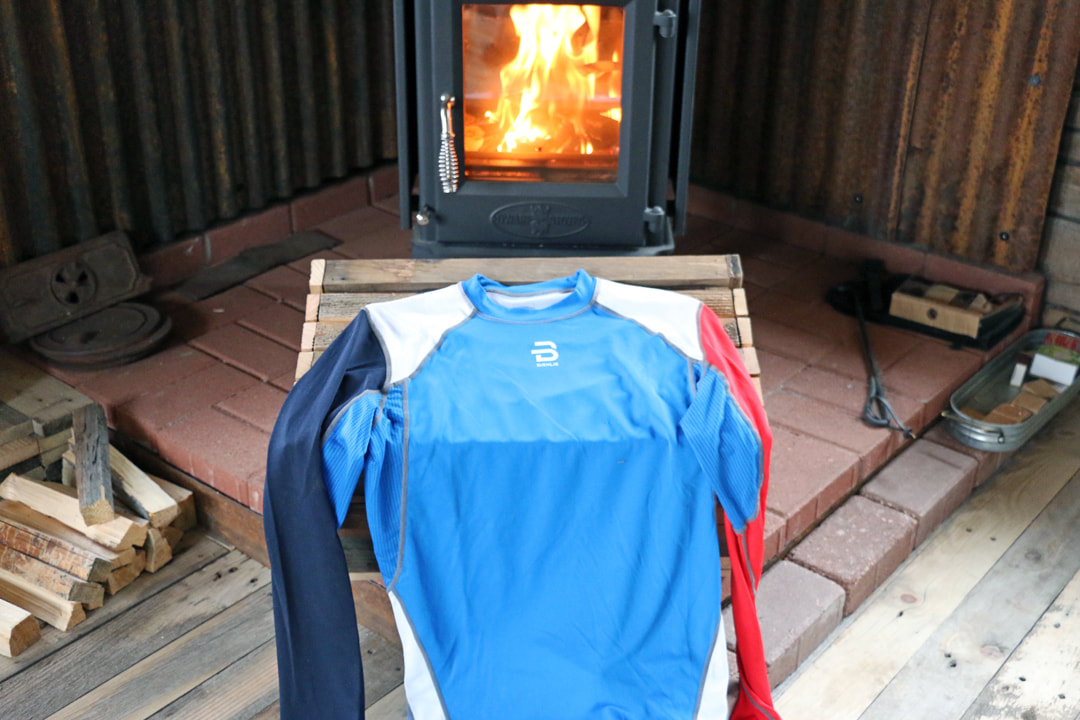
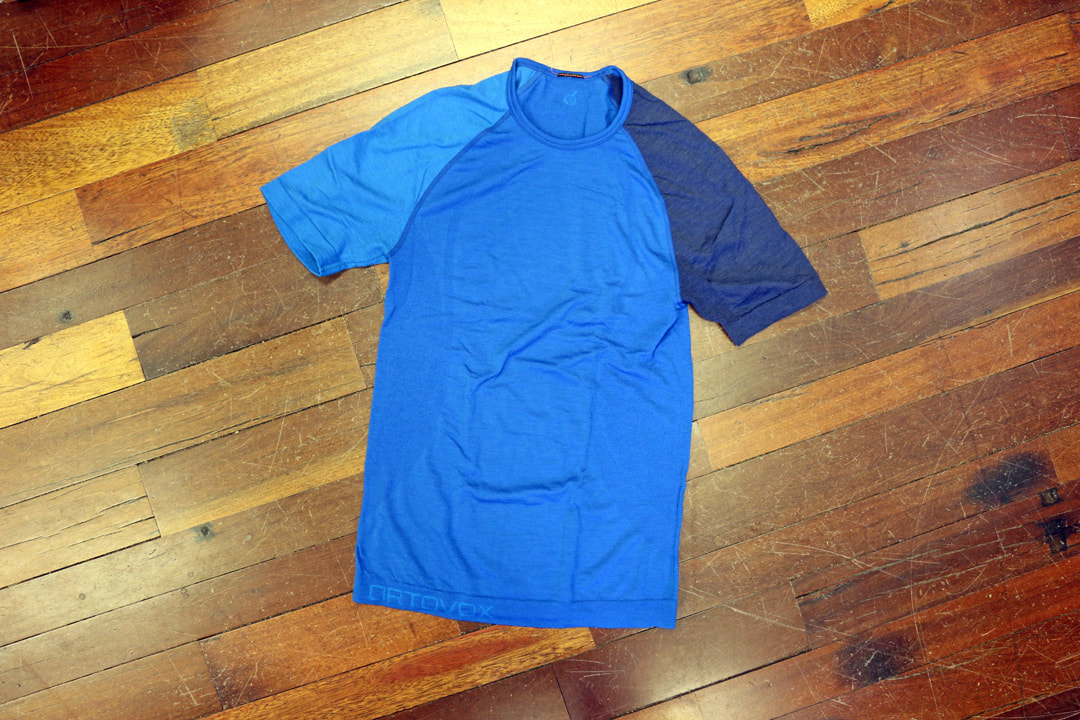
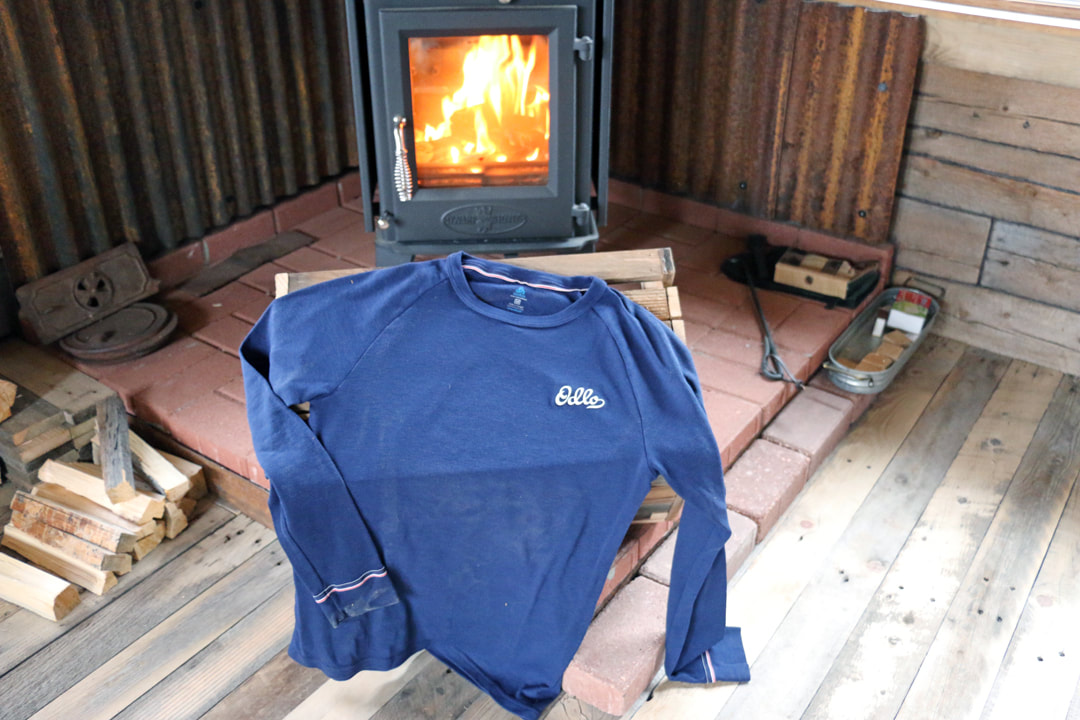
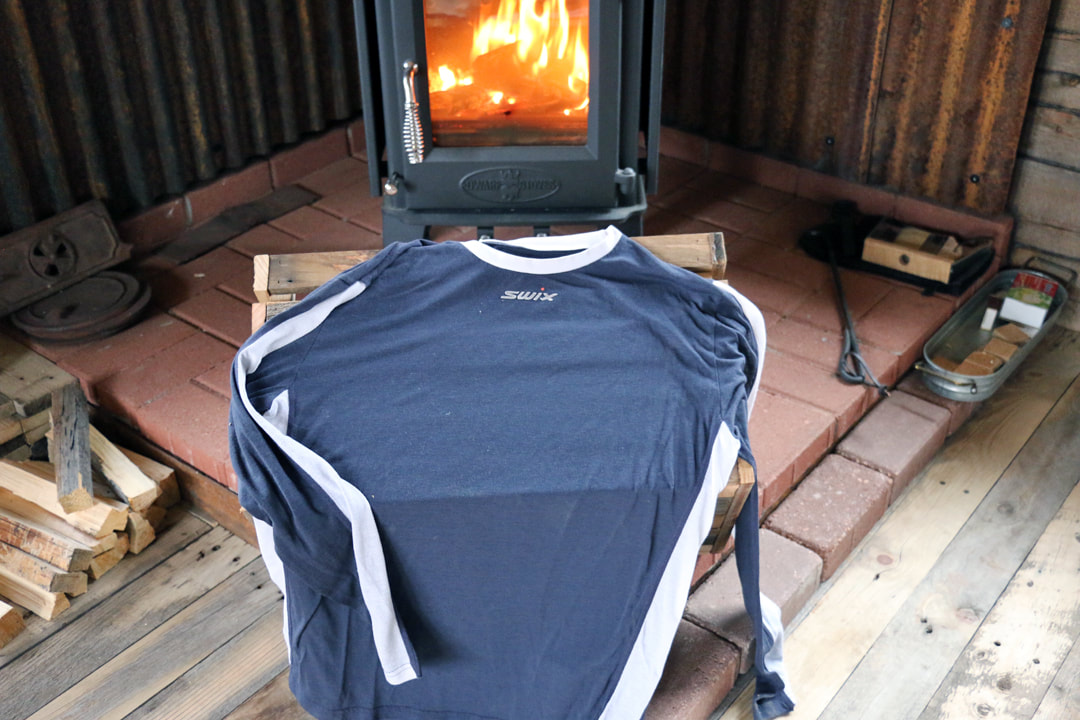
Story, photos, and video by Murray Selleck, HIKE ROCKY Equipment Specialist. Please note: these reviews are not solicited, and we received no financial compensation for these reviews. Snowshoeing is a wonderful winter extension of your love for hiking in the summer. All your favorite summer trails in Rocky Mountain National Park become easily accessible winter trails with a pair of snowshoes. Snowshoeing offers a completely different yet intimate wintery mountain experience. The soothing yet smothering quiet of a snow-filled forest when you compare it to the noise of our frenzy paced towns and cities is comforting. Watch out when the wind releases snow-loaded pine branches of their wintery burden. Count yourself lucky if one of these big clumps of snow doesn't target you from above. The resulting whomp whomp whomp of these big clumps of snow hitting the snowpack will have you hunching up your shoulders just in case! The sound of your snowshoes compressing soft powdery snow underfoot along with the cheering chirps of mountain chickadees will only make you want to snowshoe farther and deeper into the forest. Yes, snowshoeing really is quiet, wonderful, and peaceful. A challenge all snowshoers face isn't the activity of snowshoeing itself. Everyone can enjoy snowshoeing, from youngsters to oldsters alike. No, the challenge is deciding which pair of snowshoes is right for you. A quick count of companies producing snowshoes these days is up around 24. Back in the mid 80's when snowshoeing saw a huge resurgence, Redfeather Snowshoes was practically the one and only choice. Snowshoe deck sizes, snowshoe talons, crampons and cleats for traction, frame designs, bindings. All these features will come into play while you’re making your decision. Here are some initial tips for you to consider when making your purchase. Pretty much all snowshoe manufacturers publish a weight range for each size snowshoe they make. This is helpful but typically the weight range is so broad it includes all of us anyway. When I help folks choose a snowshoe I ask them to consider where they are likely to snowshoe most often. Will you be snowshoeing on a packed trail or do you like to explore, go your own way, and break a fresh trail in deep snow most often? Will the terrain you like to snowshoe on be more golf-course like or mountainous with lots of climbing and descending? The answers to these questions will help determine snowshoe deck size and how aggressive the traction crampons or talons underneath the deck should be. For packed trails and tamer terrain, you can choose a smaller frame for an easy lightweight and more maneuverable snowshoe. For more adventurous terrain and breaking trail in deeper snow you'll benefit from a larger snowshoe for more floatation with more aggressive traction talons underneath. A retractable climbing bar is a great performance benefit. And what if you think you will be snowshoeing a bit in each situation? The middle ground is a good compromise as long as you're aware of the pros and cons of your choice. On packed trails a larger snowshoe can feel a little clunky. A smaller snowshoe in deep snow will make breaking trail tougher (but not impossible). Both will work in either snow condition but it is the awareness of how your snowshoe will perform in each condition that allows you to make those compromises. Women's specific snowshoes typically have all the same features of a guy's snowshoe but the frame is narrower. A narrow snowshoe helps women stride more naturally avoiding the infamous “clam diggers” walk as if walking through tidal mud flats. I like to snowshoe with poles. Even on mild terrain a pair of poles lets my arms and hands, shoulders and torso become involved in the activity. Poles help you climb more efficiently and they provide additional stability on steep descents. Of course, budget will determine your comfort level with a snowshoe purchase. And as usual, you get what you pay for applies to snowshoes, too. The more dollars you are able to put towards your snowshoe purchase you will be rewarded with long term durability and no- fuss binding reliability. The last tip is to try the snowshoe binding in the store. Bring the boots you are likely to wear while snowshoeing so you can try them on. Go ahead and strap on the binding to determine ease of use and retention. There really is no good reason to have to readjust your bindings while snowshoeing. The only time you should adjust the binding is putting them on or taking them off, not while you're on the trail. Here are three snowshoe manufacturers that I really like and have had good experiences with. TSL Snowshoes TSL is a French company and their snowshoes are manufactured in France. If anyone has really made some nice snowshoe design strides over the last few years it is TSL. Their Symbioz models feature HyperFlex. The snowshoe has a wonderful round flex pattern that allows you to walk and hike with a very natural heel-to-toe stride. You feel this feature especially on packed trails and descents. The bindings have some great adjustment features. The length and width of the binding can be adjusted for boot size. The most unique aspect of the length adjustment is the climbing bar is always in the perfect position under your heel. The retention strap that comes forward over your ankle adjusts easily with a ratchet and is easy to reach. Some traditional heel straps can be low to reach and awkward to adjust. TSL does not make men's or women's specific models. They do make 3 different sizes in each model. Small, medium, and large sizes cover your snowpack and trail considerations. Their hourglass frame shape makes for an comfortable stride (along with HyperFlex). Do yourself a favor and check out all the TSL snowshoe models. Atlas Snowshoes Atlas has a complete line of snowshoes from models that are appropriate for a snow covered golf course to snowshoes that are ideal for very adventurous terrain. One terrific snowshoe model that's right in the middle of their line is the Montane. The Montane comes in men's and women's models and sizes. Women's snowshoes are narrower than a men's snowshoe. The narrow design allows women to achieve a more natural stride. One of the best features with Atlas is their spring loaded or SLS binding. Spring loaded allows the tail of the snowshoe to lift off the snowpack as you step forward, reducing tail drag. It also helps the tip of the snowshoe to lift up and over the snow as you step forward breaking trail. The Montane has an easy one-pull-loop to close and a one-pull-loop to open to open the binding with a more traditional heel strap. Easy in and easy out. Mountain Safety Research Snowshoes (MSR) The MSR Lightning Ascent is MSR's top of the line snowshoe. I really like how they attach the decking to the snowshoe frame. It is attached all within the snowshoe frame. None of the decking wraps around the exterior of the frame. Wrap-around decking can be a wear point but there is no such concern with the Lightning. The Lightning's frame is also a huge part of the snowshoes traction. Along both sides of the frame, teeth have been cut into the metal creating very secure traction. The traction frame also helps when you are traversing a side slope. This snowshoe resists slipping and sliding downhill away from you. MSR's new binding design incorporates a plastic mesh that wraps around your forefoot. Two side straps will snub your boot into place along with a traditional heel strap. Very effective and comfortable. These are just a few of the snowshoe features and highlights from three excellent snowshoe manufactures. You won't go wrong choosing a snowshoe from any of these reliable companies. Winter in Rocky Mountain National Park has so much to offer. It would be a shame not to experience it and with a pair of snowshoes you will want to go, and often.  Murray Selleck moved to Colorado in 1978. In the early 80’s he split his time working winters in a ski shop in Steamboat Springs and his summers guiding on the Arkansas River. His career in the specialty outdoor industry has continued for over 30 years. Needless to say, he has witnessed decades of change in outdoor equipment and clothing. Steamboat Springs continues to be home. The key to staying warm is staying dry! story and photos by Murray Selleck, HIKE ROCKY’s equipment specialist Note: these recommendations were not solicited and we receive no financial consideration from any of the manufacturers mentioned I remember a particular winter backcountry ski day like it was yesterday. Even with decades of time having passed, that single drip of sweat running down my side left an impression. We were backcountry skiing and hiking for turns when it happened. These were the early days when layering for warmth was becoming more technical with the fabrics being offered and fast becoming a widely adhered to concept. Of course, layering for warmth has long been an acknowledged practice. Think Shakelton and the Endurance. Think Charlie Brown on the baseball mound so thickly layered up he can barely move! The reason why I remember this specific backcountry ski day so well is realizing my next to skin wicking layer was certainly not wicking, far from it. Ideally, the layering concept is designed to allow the sweat and perspiration you generate while skiing or snowshoeing or any high aerobic activity to wick off your skin and pass through your insulation layer. Layering correctly will prevent you from overheating while keeping you warm and dry. On that particular winter day, with sweat sending shivers up my back, was a huge fail. Since then, through lots of trial and error, I wear a layering system that works really well for myself. However, it goes without saying that what works and feels comfortable for one person doesn't mean it will be equally effective or comfortable for the next. But here are a few ideas to keep in mind as you dress for your next hike, winter ski, or snowshoe day in Rocky Mountain National Park. The key to staying warm in winter is to stay dry. This means your next-to-skin layer is truly the most essential. It must wick the moisture off your skin. This layer should also be quick drying. It shouldn't stay damp against your skin. If this first layer does stay damp you will have to use even more energy to stay warm. As soon as you pause for a break to catch your breath or take a drink of water you'll start to chill down. Your break will be short lived because you'll have to quickly get moving again to regenerate more heat to overcome your chill. A frustrating repetition of sweat, chill, warm up, sweat, chill, warm up will repeat itself all day long. This first layer, the next to skin base layer, is critical to keeping yourself dry, warm, and comfortable even in the most extreme temperatures. The best way to ensure that your next to skin layer works properly is to have it form-fitting to your body. Some manufacturers call this body mapping. The layer shouldn't be loose, baggy, or floppy anywhere on your torso or legs. Body mapping tops typically have specific areas within the design to vent more heat or be purposefully even more snug fitting than the rest of the garment. This was the biggest lesson I learned during that winter ski day way back when. How was my base layer supposed to wick when it wasn't even touching my upper body in all places? Once I began wearing body hugging, snug, form fitting tops and bottoms did the wicking performance actually begin to work effectively. This snug body hugging-fit may feel pretty foreign to lots of first time users. However, once you get use to the feel you'll never go back. Think of the next to skin layer's sole purpose as transporting moisture off your skin or wicking. This is what will keep you dry... and comfortable. Don't think of this layer as an insulating layer. The most effective wicking layers I have found are also incredibly thin as well as body hugging. Since they are thin that also makes them very quick drying. During a ski or snowshoe break this layer is drying equally as quick as it is wicking moving all that underneath “micro climate” generated moisture away from my skin. I can enjoy a satisfying drink of water and snack without feeling rushed or compromised by the cold temperatures. Here are a few of the next-to-skin tops and leggings I have found to be really effective. I use one or another pretty much every winter day Nordic skiing or snowshoeing. Craft Active Extreme X (Sweden) Craft was the first top with a body snug fit that I ever wore. It was my game changer. The Active Extreme Top is made with 100% recycled polyester, much of it from old fishing nets. Mesh inserts under the arms to promote ventilation, flat lock seams and stretchable material for easy mobility, waffle knit design for enhanced wicking... these are the things that make up a wonderful next-to- skin layer. By the way, that first Craft top I wore many moons ago? I still have it and wear it on certain trips which speaks to the durability, performance, and longevity of Craft products. Bjorn Daehlie Compete-Tech (Norway) For those who may not know, Bjorn Daehle, is the most successful male cross-country skier in history. He and his clothing company know a few things about how to stay warm and dry outside in winter. The Compete-Tech top is the thinnest top that BD produces. The lightweight fabric and snug fit will keep you dry no matter how fast you climb or how long you stay out. The fabric is made with Tencel, recycled polyester, and fine merino wool. Tencel is produced from fiber extracted from cellulose pulp from sustainable, fast growing eucalyptus trees. Ortovox Comp 120 (Germany/Switzerland) This is another very light next to skin layer. The fabric make-up is 70 % virgin wool for wicking and warmth and 30% polyamide to provide the snug body hugging fit. Ortovox uses a unique circular knitting technique which creates a practically seamless garment. This weave also allows Ortovox to create body mapping zones for strength and increased breathability. Ortovox uses merino wool from Tasmania for their next to skin fabrics. They also use Swiss wool for increased insulation in their midlayers and outer jackets and tops. Ortovox takes pride in knowing exactly from which farms their wool is produced ensuring quality and animal welfare. Odlo Active F-Dry Light Top (Norway) Yes, there is a theme here... Scandinavian companies offering body snug, exceptional wicking and fast drying garments. The Odlo F-Dry Light top is made with 88% recycled polyester and 12% recycled polypropylene. Odlo produces a variety of fabrics for their base layers including sheep's wool and yak wool. There are many more companies producing great next- to-skin base layers. The choices are practically endless. Swix, Smartwool, The North Face, Icebreaker, Helly Hansen, and on and on... The trick is to find a company you believe in. One that you can support both with your dollars, trust, and recommendations. The great debate over next-to-skin fabrics that is synthetic materials vs natural (primarily wool) and renewable materials, won't go away anytime soon. Everyone will develop their personal favorites. Early on my choice was always synthetics. There was no comparison when it came to synthetic materials being faster wicking and drying. Wool users countered with the fact that it is a natural and renewable resource. It doesn't pick up or retain body odor. Wool is also an excellent material at wicking. They just couldn't claim it to be faster drying or produce a body hugging fit. Durability was also an early issue. Today, much of those old arguments have disappeared. Synthetics are being manufactured with recycled materials and have added anti-microbial treatments to eliminate funk. Many of these same manufacturers who primarily produced synthetic layers have also added wool options to their product lines. And, many manufacturers producing products with wool are using core spun (synthetic fibers combined with wool fibers) fabrics to their clothing to achieve a body snug fit, enhance the drying effect, and increase the durability in high wear areas like around your shoulders because of backpack straps. The choice between synthetic or wool as your next-to- skin layers will always come down to a person's perceived comfort, performance expectations, and metabolism (which in of itself is another whole discussion). The one constant remains... to stay warm in the winter backcountry you have to stay dry! 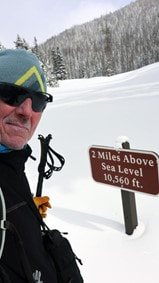 Murray Selleck moved to Colorado in 1978. In the early 1980s he split his time working winters in a ski shop in Steamboat Springs and summers guiding on the Arkansas River. His career in the specialty outdoor industry has continued for more than 30 years. Needless to say, he has witnessed decades of change in outdoor equipment and clothing. Steamboat Springs continues to be home. |
Categories
All
|
© Copyright 2025 Barefoot Publications, All Rights Reserved
